
Set of Laser Cut purse handles (minidolls.com has them)
Small print or solid for purse body
Silk thread for “piping”
Scissors
Glue
 Directions
1. Center the pattern design you like on the purse pattern and mark it. (In your mind or with a pin)
2. Turn the fabric to the wrong side and spread glue along the back of the cotton fabric. Allow to completely dry. This will keep the fabric together and it will not fray.
3. Trace the pattern to the fabric to the wrong side of the fabric, or over the glue with a pencil. Having a circle template helps keep the pattern centered and the circle round.
4. The sample uses the handles in their original form, but they can be painted and lacquered (nail polish, acrylic paints with spray sealer) or gilded or stained a different color. Use your imagination.
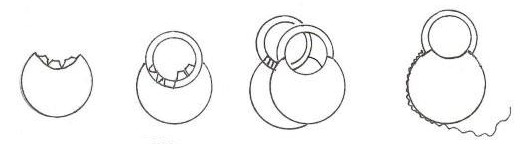
5. Glue the handle to the purse fabric on the wrong side, following the diagram.
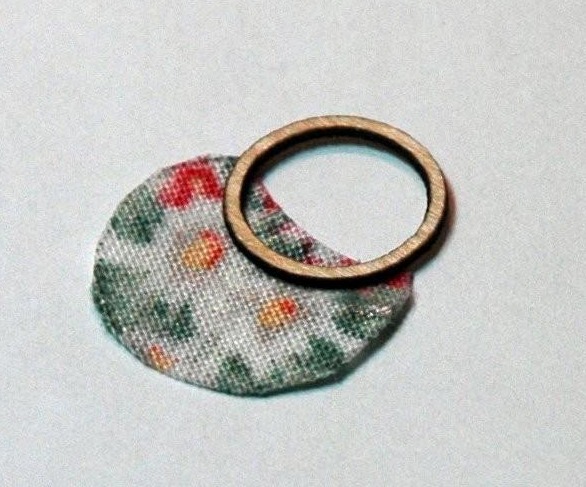 6. Clip the curves showing inside the handle, and glue them over to the wrong side or inside of the purse.
7. Complete both handles the same way.
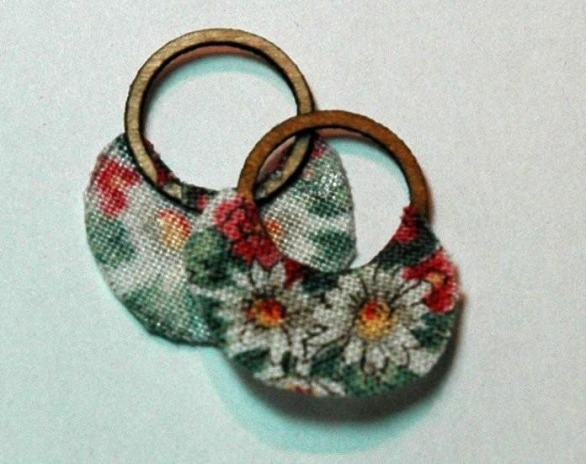 8. With a small amount of glue on the edges, place the purses together wrong side to wrong side. Allow to dry.
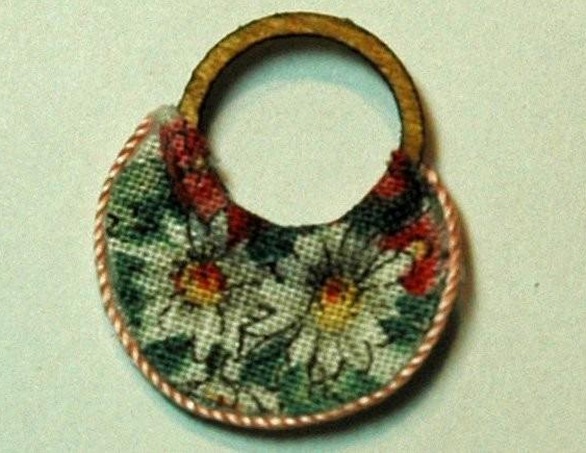
9. Place a small amount of glue along the outside edge and cover the edge with a silk thread, or small braid. (I used a twisted silk thread.) Trim away excess at the handles and you have a purse that opens and closes.
10.Place a hankie edge sticking out for more character.
For complete PDF file of tutorial plus added diagrams click here: PDF Tiny Purse


1 comment:
clever idea. It looks very vbintage.
Post a Comment